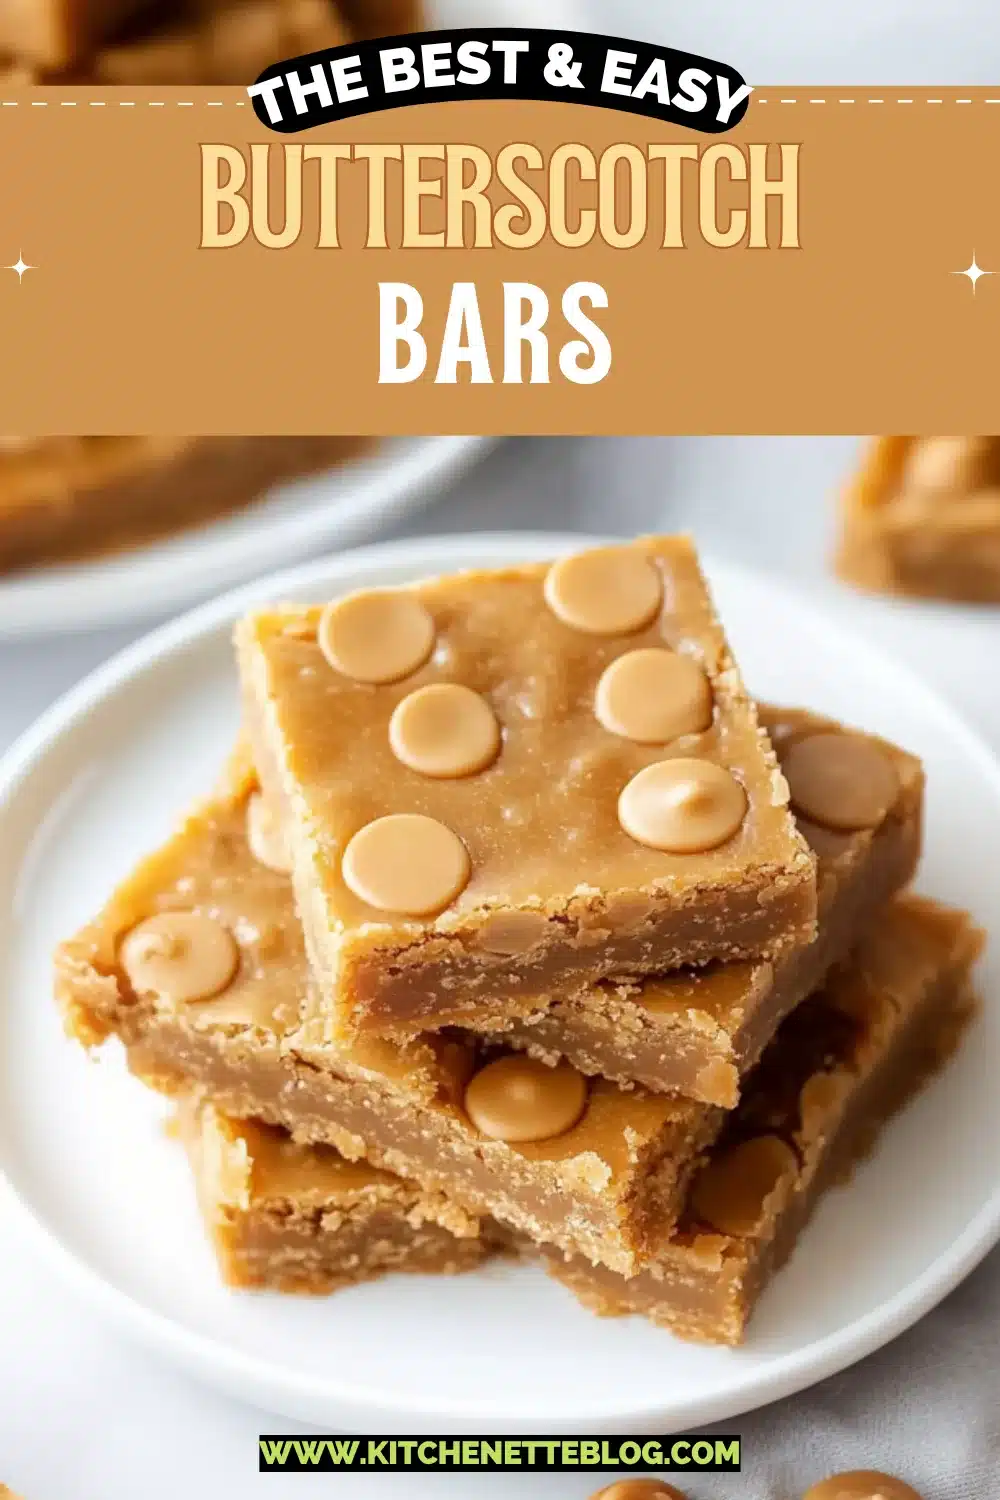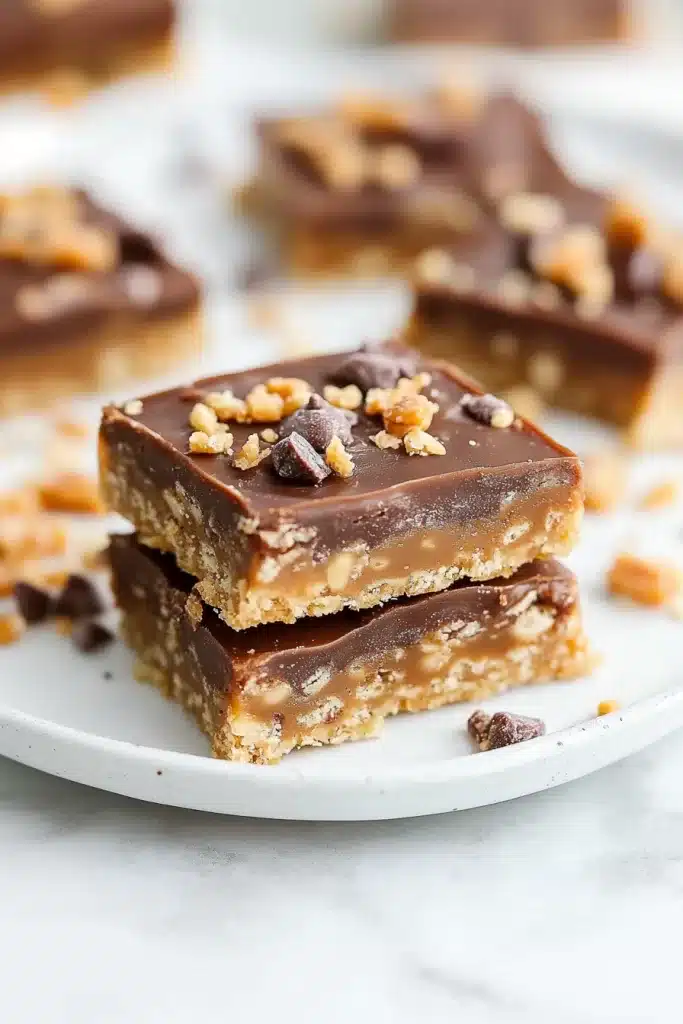
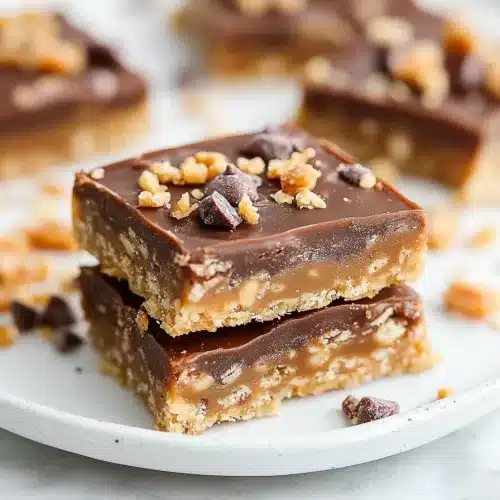
Buttery, chewy, and crunchy all at once, these toffee bars are layered with brown sugar, chocolate, and milky caramel. Grab butter, flour, and some good toffee bits—you’re in for a treat.
Imagine walking into a kitchen that smells like warm brown sugar and melted chocolate. That golden, toasty aroma wraps around you like a cozy sweater that’s just a tad snug after dessert. That’s the vibe these toffee bars give off. They’ve got a cookie-meets-candy personality going on, with just enough chew and crunch to keep things interesting.
You bake the base, let the chocolate do its melty thing, and (if you’re in a caramel kind of mood) drizzle and swirl until your kitchen counter gets just a little sticky. They’re casual enough for a snack-but-not-a-snack moment, yet fancy enough for gifting, or for hoarding in the fridge and pretending you forgot about them. Speaking of which…

Why You’ll Love this Toffee Bars Recipe
These bars don’t need a sales pitch—they win people over by simply existing. But if you’re on the fence (which, fair), here’s why they earn their spot on the treat tray.
- Ridiculously simple to make: You just squish, smear, melt, and drizzle. The oven basically does the hard part.
- Versatile toppings: Chocolate, pecans, finished with a scatter of toffee bits… or skip the nuts if they’re not your thing.
- Optional caramel swirl: Because sometimes, chocolate isn’t enough. (Yes, I said it.)
- Buttery shortbread base: It’s crumbly without being dry, and it smells like someone loves you deeply.
- Great make-ahead treat: These bars actually get better once they chill, especially if you’re going for those lovely clean cuts.
Ingredient Notes
These bars don’t try to be mysterious. Here’s the lowdown on what goes into them and a few little tricks along the way.
- Unsalted butter: Soften it at room temp—it’s the only way to get that creamed, whipped texture with brown sugar that makes the crust plush and tender.
- Packed brown sugar: This adds that deep, almost caramelly sweetness. Light or dark both work, depending on how molassesy you feel.
- Egg yolk: Just one! It binds everything with a richness that a whole egg would overpower.
- Vanilla extract: Go for real vanilla if you can—it brings out the warmth of the sugar and chocolate.
- All-purpose flour: Standard flour does the job here. Don’t overmix though, or it might get a bit too tough.
- Salt: Just enough to balance the sweet—it’s subtle, but don’t skip it.
- Milk chocolate chips: They melt beautifully into a glossy layer. Semi-sweet works too, but milk chocolate vibes really well with the toffee.
- Toffee bits: These little guys add crackle and a buttery crunch. The kind in the baking aisle is perfect.
- Chopped pecans (optional): Toast ’em first if you’re using them. They add a roasty flavor and a satisfying chew.
- Chewy caramel candies + heavy cream (optional): This combo turns into a pourable caramel you’ll want to sneak by the spoonful. Try brands like Werther’s for easy melting.

How To Make This Toffee Bars Recipe
This whole process is un-fussy and smells absolutely ridiculous in the best way. Like, “why does my kitchen smell like a toffee-scented candle” kind of good.
-
Prep your baking pan and oven: First, line a 9×13-inch pan with parchment. This makes for easy clean-up and even easier lifting later. Preheat to 350°F and let it buzz while you prep the dough.
-
Mix up the base layer: Grab a large bowl and beat the softened butter with the brown sugar using a hand mixer. You’re aiming for fluffy and light, which should take 2 to 3 minutes. Add the egg yolk and vanilla, and beat again for a few seconds until it melds. At this point, your kitchen is already smelling like cookies, and we haven’t even baked yet.
-
Add dry ingredients: Stir in the flour and salt with a spatula. Don’t use the mixer here—it’ll overwork the dough and ruin the texture. The dough will look crumbly and weirdly dry, but that’s exactly right.
-
Press and bake: Take that crumbly dough and press it into the pan with your hands or the back of a measuring cup. Get it nice and even. Bake for 20 to 25 minutes, or until the edges get a pale golden tan.
-
Caramel or chocolate topping—your call: Once it comes out of the oven, move quickly. If you’re going the caramel route, melt the caramels and cream in the microwave (go slow—30-second bursts, stir often) until smooth and pourable. Spread over the hot crust. If you’re leaning into just chocolate, sprinkle the chips right onto the hot crust instead. Let them sit and soften for a few minutes, then spread into a glossy layer.
-
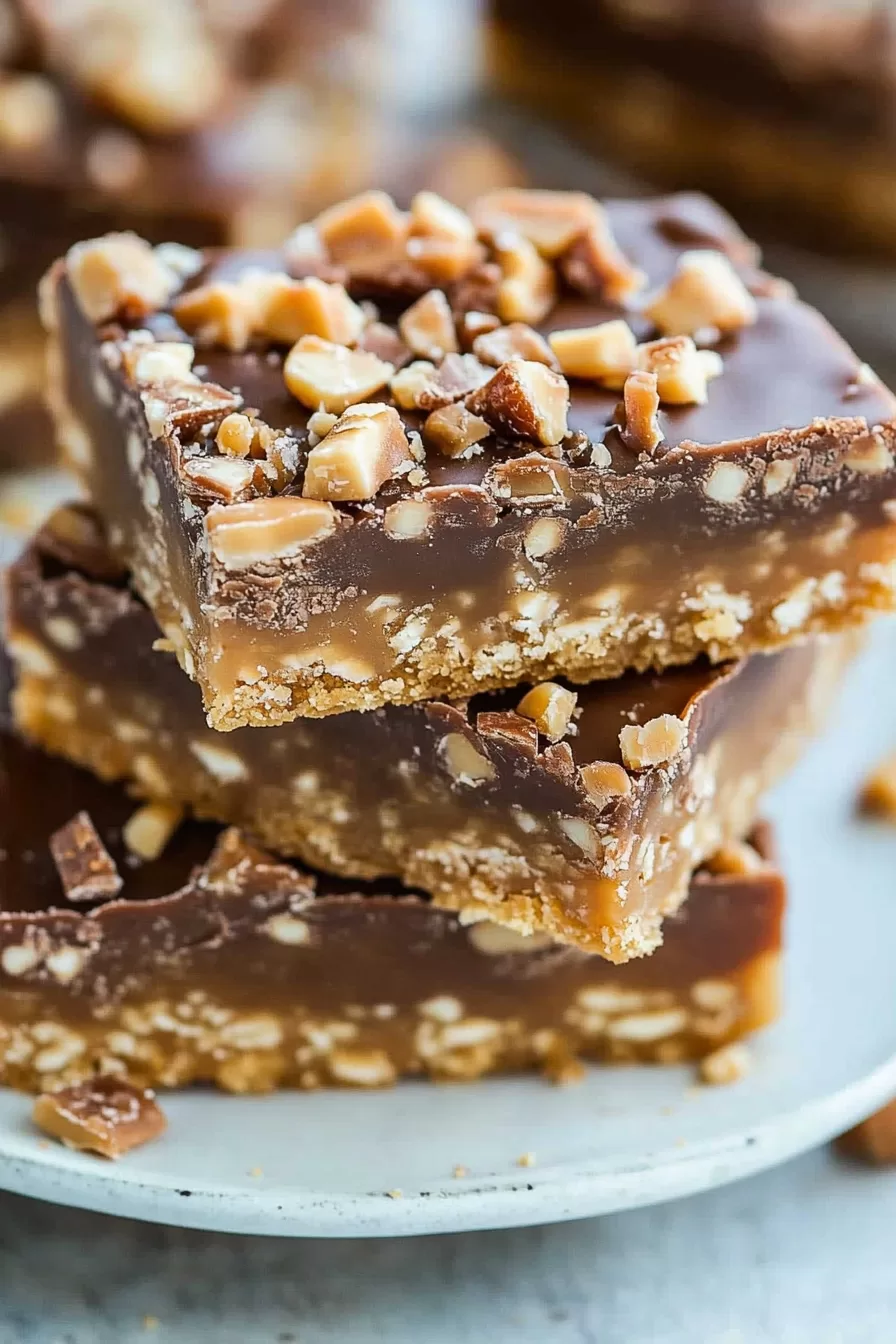
Add the final crunchies: Sprinkle on the toffee bits and pecans while the chocolate or caramel is still melty, so they’ll stick. Then let the whole pan cool just until you can’t stand to wait anymore.
-
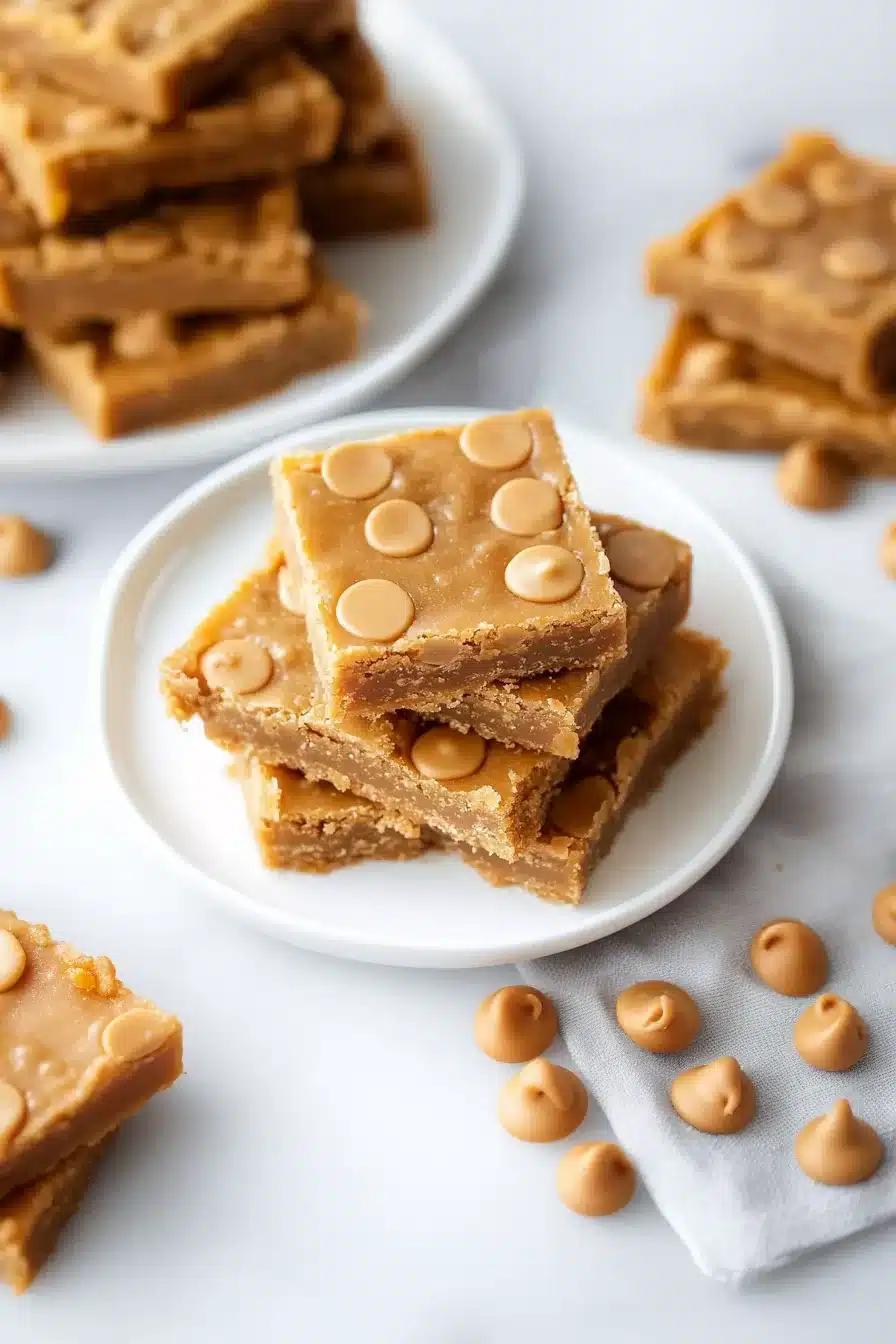
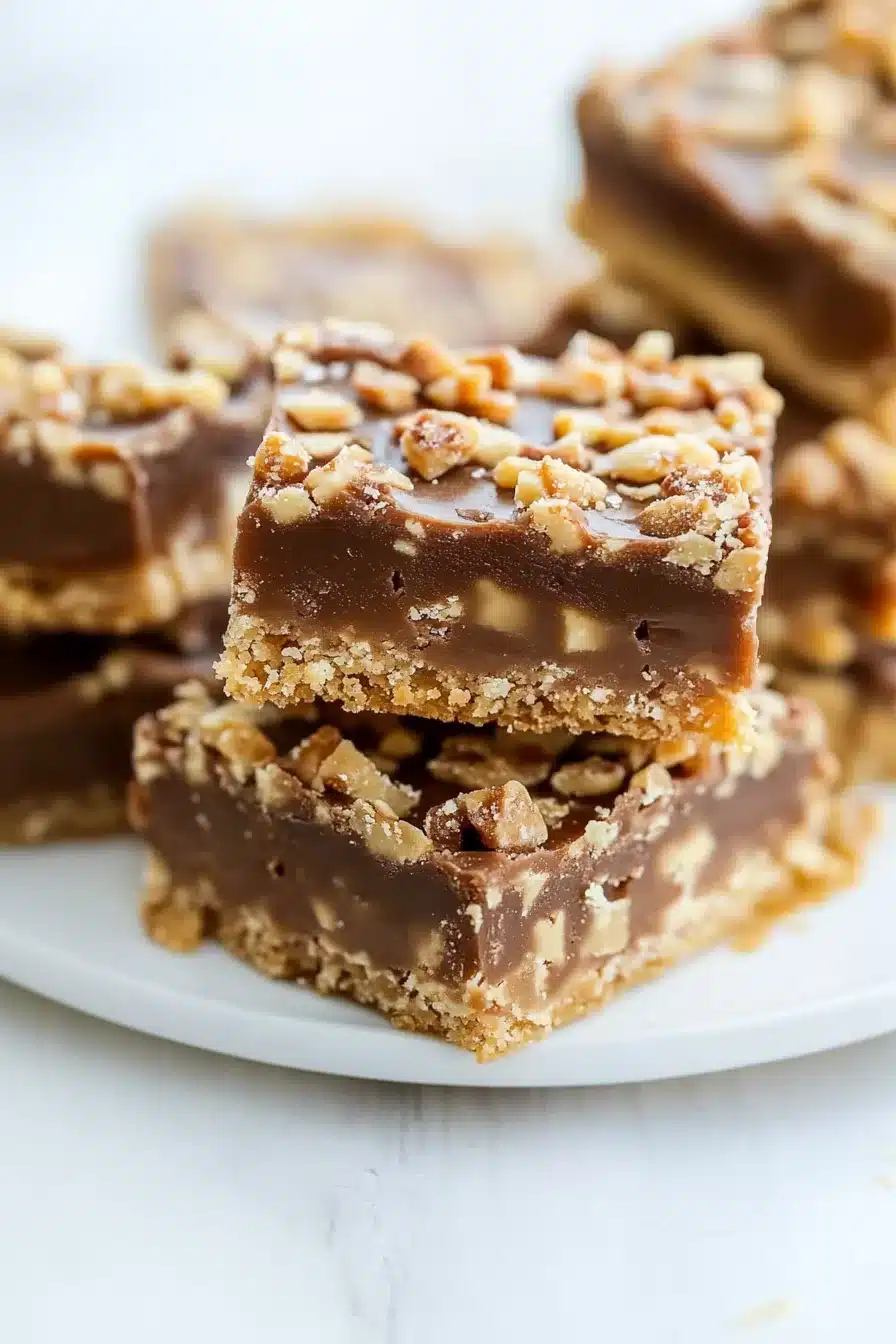
Chill and slice: Once it’s all set (fridge helps speed this up), slice into squares. For super clean edges, pop the whole tray in the fridge for about 30 minutes before cutting.

Storage Options
These toffee bars actually have an ideal personality for make-ahead situations. Store them in the fridge or freezer, and they hold up beautifully.
If you’re keeping them on the counter, make sure it’s not too warm in the kitchen—chocolate gets moody and melty. In a sealed container, they’ll be fine at room temp for up to 3 days, though I prefer sticking them in the fridge where they stay firm and the flavors settle in even more.
They’re very freezer-friendly too. Slice them first, then layer with parchment or wax paper between tiers in an airtight container. When the day calls for one (or four), let a bar sit out at room temp for about 15 minutes, or eat it cold if you’re into that whole “straight from the freezer” thrill like I am.
Variations and Substitutions
There’s room to play here. These bars are forgiving and open to interpretation—just like a good playlist.
- Nut-free version: Skip the pecans entirely if needed. You can add a few extra toffee bits for that same crunch vibe.
- Dark chocolate chips: If milk’s too sweet for your tastes, try dark or semisweet chips for a bit more bite.
- Add sea salt flakes: A tiny sprinkle on top right after baking? Chef’s kiss. Contrasts beautifully with the sweetness.
- Use graham flour or oat flour: For a slightly rustic twist, swap a quarter of the flour with oat or graham. It makes it a little nuttier.
- Make it s’mores-inspired: Layer mini marshmallows under the chocolate chips before melting. They’ll get gooey, toasty, and ridiculous in a good way.
What to Serve with Toffee Bars
These are lovely solo, but pairing them with something cozy (or zippy) makes them even more special.
-
A cold glass of milk or a mug of coffee (your vibe decides): The richness in the bars meets its match in something palate-cleansing. Especially if you lean into the optional caramel drizzle—it gets sticky-sweet fast.
-
Vanilla bean ice cream: It melts slightly over a chilled bar and turns into this dreamy warm-cold-dessert combo. Total overachiever move.
-
A savory meal first: Balance these sweet bites after dinner. Something crisp like pan-seared cod with rainbow chard or even a cozy fall dinner smooths the way in.
-
A party platter moment: Stack squares between layers of parchment and pair with salty snacks (pretzels, nuts, maybe even bacon basil cornbread muffins if you’re feeling brunchy). Sweet and savory is always a hit.

Frequently Asked Questions
Can I make toffee bars ahead of time?
Yep! They’re actually better that way. Bake them, top them, let them cool, and refrigerate up to 4 days in advance. The chill time makes the layers firm up and the flavors settle in. Slice right before serving if you’re looking for those tidy bakery-style edges.
Can I freeze these toffee bars?
Definitely. Freeze the bars once cooled, either whole or sliced into squares. Use parchment between layers to avoid sticking. When you’re ready to enjoy, either thaw overnight in the fridge or let them sit out for about 15–20 minutes at room temp (pro tip: they’re also pretty great straight from the freezer if you like that bite).
Can I use different kinds of chocolate?
Sure can. Milk chocolate is classic here because of how it pairs with sweet toffee and caramel, but dark or semisweet chocolate works well if you want it less sugary. You can even mix and match chip types or throw in some chopped chocolate bars for a rustic feel.
How do I get clean slices?
The trick is chilling. After the bars are fully cooled, pop the whole tray into the fridge for 30 minutes. Then use a sharp knife (wipe it clean between cuts) and go slow. You’ll get nice, tidy squares without dragging the topping everywhere. It’s weirdly satisfying.
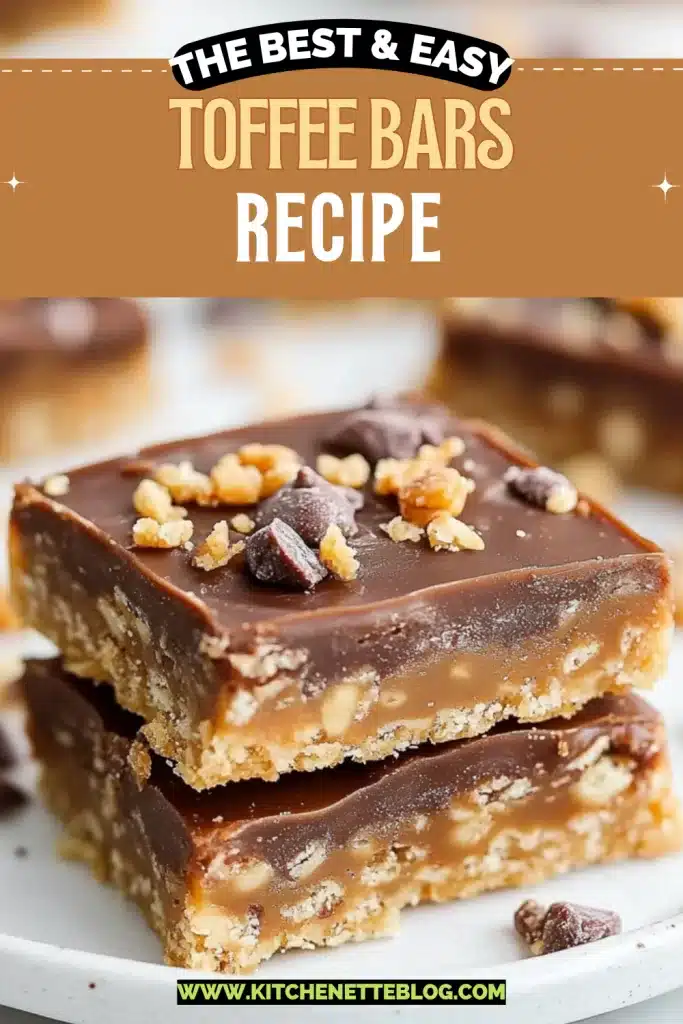
Buttery Chocolate Toffee Bars
Ingredients
Shortbread Base
- 1 cup (227 g) unsalted butter softened to room temperature
- 1 cup (200 g) packed brown sugar light or dark
- 1 large egg yolk
- 1 tsp (5 ml) vanilla extract
- 2 cups (250 g) all-purpose flour
- 1/2 tsp (2.5 ml) salt
Toppings
- 1 1/2 cups (255 g) milk chocolate chips or semisweet or dark if preferred
- 1 cup (160 g) toffee bits like Heath baking bits
- 1/2 cup (60 g) chopped pecans optional, toasted
Optional Caramel Swirl
- 12 (120 g) chewy caramel candies like Werther's
- 2 tbsp (30 ml) heavy cream
Equipment
- 9x13-inch Baking Pan
- Parchment paper
- Hand Mixer
- Mixing bowls
Instructions
- Preheat the oven to 350°F (175°C) and line a 9x13-inch baking pan with parchment paper.
- In a large mixing bowl, beat the softened butter and brown sugar together with a hand mixer for 2-3 minutes until light and fluffy.
- Add the egg yolk and vanilla extract; mix briefly until combined.
- Stir in the flour and salt with a spatula until just combined. The dough will look crumbly; that's perfect.
- Press the crumbly dough evenly into the prepared pan using your hands or the back of a measuring cup.
- Bake for 20-25 minutes, or until the edges are lightly golden. Remove from oven.
- If adding caramel: Melt caramel candies with heavy cream in a microwave-safe bowl in 30-second increments, stirring until smooth. Pour and spread evenly over the hot crust.
- Immediately sprinkle chocolate chips over the hot crust (and caramel, if using). Let sit for 2-3 minutes to soften, then gently spread into a smooth, even layer.
- Sprinkle toffee bits and pecans (if using) over the chocolate while still warm so they stick.
- Allow the bars to cool at room temperature until just barely warm. For cleanest slicing, refrigerate the pan for 30 minutes to firm up.
- Lift the bars from the pan using the parchment, slice into squares, and enjoy!
Notes
- Feel free to skip the pecans for a nut-free version. Add extra toffee bits for crunch.
- For a s’mores twist, add mini marshmallows under the chocolate chips before melting.
- Try dark chocolate chips or add a sprinkle of sea salt flakes on top for variation.